Building a new home in Auckland is one of the most significant financial and personal decisions most people will make in their lives. It is also a process that has a lot of moving parts, and without a clear understanding of how those parts fit together, it is easy to make decisions that cost you time and money. This guide is intended to give you a straightforward picture of the full new home build process, from choosing a site through to moving in.
Everything in residential design starts with the site. The size, shape, orientation, topography, zone, and location of your section all have a profound influence on what can be built and how much it will cost. Before you commit to purchasing a section, it is worth getting some early design advice about what is actually achievable on it and what the likely build cost will be.
Some sites that look attractive at first glance come with significant constraints. A sloping site can mean expensive retaining walls and foundations. A narrow section can limit the design options. A site in a flood zone or on unstable ground may require geotechnical investigation and specific engineering solutions. A site in a heritage or character overlay area may have restrictions on what can be built. None of these things necessarily make a site a bad choice, but they are all factors that affect cost and design options, and it is much better to know about them before you buy than after.
We offer pre-purchase site assessments for clients who are considering a section. These assessments give you a clear picture of the site’s constraints and opportunities, an estimate of what can be built, and a realistic sense of the likely design and build costs. The cost of a site assessment is small relative to the cost of committing to the wrong site.
Once you have a site, the design process starts with a brief. A good brief is more than a list of rooms. It describes how you and your family live, what matters most to you in a home, what you want to change about where you live now, and what the budget is. The brief is the foundation of the design, and the more thought you put into it before the designer starts drawing, the better the outcome will be.
Some things worth thinking through for your brief: how many people will live in the house and how might that change over the next ten to fifteen years, how do you use different spaces at different times of day, how important is connection to outdoor areas, do you work from home and if so what does that space need to look like, how do you entertain, and what are your non-negotiables in terms of features or finishes. The brief does not need to be a formal document. A good conversation at the initial consultation will cover most of it.
The concept design phase is where the brief gets translated into a spatial design. Your designer will develop one or more layout options showing how the rooms relate to each other, how the building sits on the site, and how the indoor and outdoor areas connect. At Architech Designs, we produce 3D models alongside the concept drawings so clients can experience the proposed design rather than just read it off a floor plan.
The concept design phase is iterative. You will review the options, provide feedback, and the designer will refine the design based on that feedback. It is normal to go through several rounds of refinement before the design is finalised. This is the right time to make changes. Changes at the concept stage cost almost nothing. Changes once working drawings are done can be expensive. Changes during construction can be very expensive indeed.
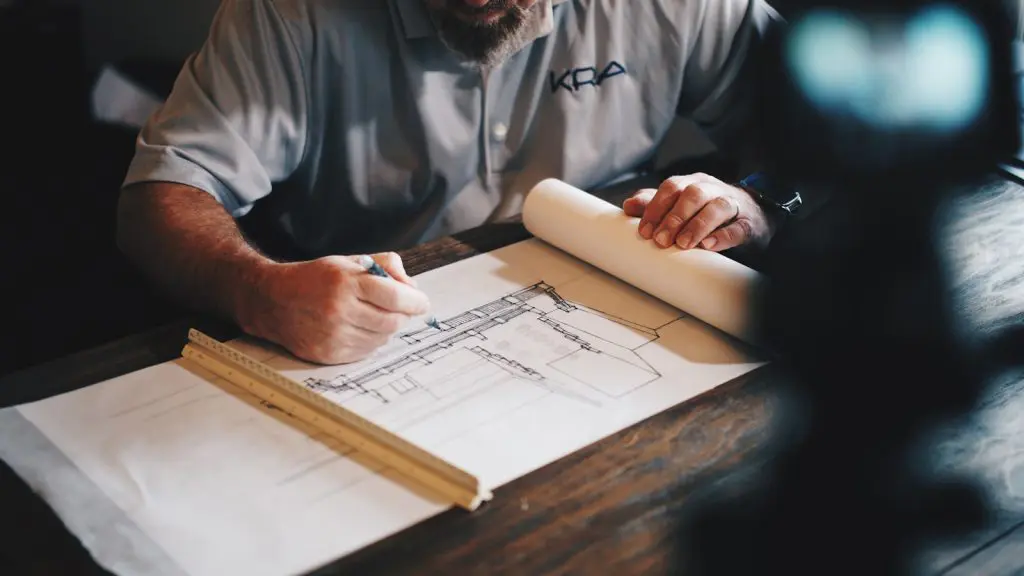
Once the concept design is agreed, the designer produces a full set of working drawings. These are the technical documents from which the building consent application will be prepared and from which the builder will construct the house. Working drawings for a new home typically include architectural drawings covering the site plan, floor plans, elevations, sections, and construction details, structural drawings prepared by a licensed structural engineer, and in many cases drainage and services plans.
The structural drawings are a separate engagement with a structural engineer, who will design the foundation system, the floor structure, the wall framing, and the roof structure based on the architectural design. The architectural and structural drawings need to be coordinated carefully, which means the designer and engineer need to communicate throughout the working drawing phase. At Architech Designs, we manage the engineer engagement as part of our service so clients do not need to coordinate between multiple consultants themselves.
Once the working drawings are complete, the consent application is prepared and lodged with Auckland Council. The application includes the architectural and structural drawings, specifications, a producer statement from the structural engineer, and any other documents required for the specific project. Auckland Council has 20 working days to grant a building consent from the date a complete application is received, though this can be extended if further information is required.
Once consent is granted, you have your authority to build. The consent comes with a set of stamped drawings that need to be on site throughout construction, and a list of inspections that need to be carried out at various stages. These inspections are important. Skipping them or missing them can create problems when you apply for the Code Compliance Certificate at the end of the project.
Selecting the right builder is one of the most important decisions in the new home build process. A good builder will price the work accurately, sequence it correctly, manage their subcontractors effectively, and produce a finished product that matches the consented drawings. A poor builder can turn a well-designed home into a nightmare of variations, delays, and quality issues.
We always recommend getting at least three quotes from experienced builders, checking references from recent projects, and making sure the builder is licensed under the Building Act. We are happy to recommend builders we have worked with successfully on previous projects, and we can review builder quotes to make sure they are comparing like for like.
Construction typically takes nine to twelve months for a standard new home build, though this varies depending on the size and complexity of the project and the availability of materials and tradespeople. We recommend having a clear contract with your builder that includes a programme, a payment schedule, and a process for managing variations.
Once construction is complete and all required inspections have been carried out and signed off, you apply to Auckland Council for a Code Compliance Certificate. The CCC confirms that the completed building work meets the Building Code. It is an important document that you will need when you sell or refinance the property, and it is worth making sure you get it promptly at the end of the project rather than letting it sit as an outstanding item.
If you are planning to build a new home in Auckland and want to understand what the process will involve for your specific site and budget, we would be happy to talk it through with you at no charge. Give us a call on 09 627 7117 or 021 062 4609.
North, South, East and West Auckland — our primary service area.
Pukekohe, Waiuku and surrounding Franklin areas.
Hamilton and surrounding Waikato region.
Remote design services across all of New Zealand.
Design tips, consent updates and Auckland property news.